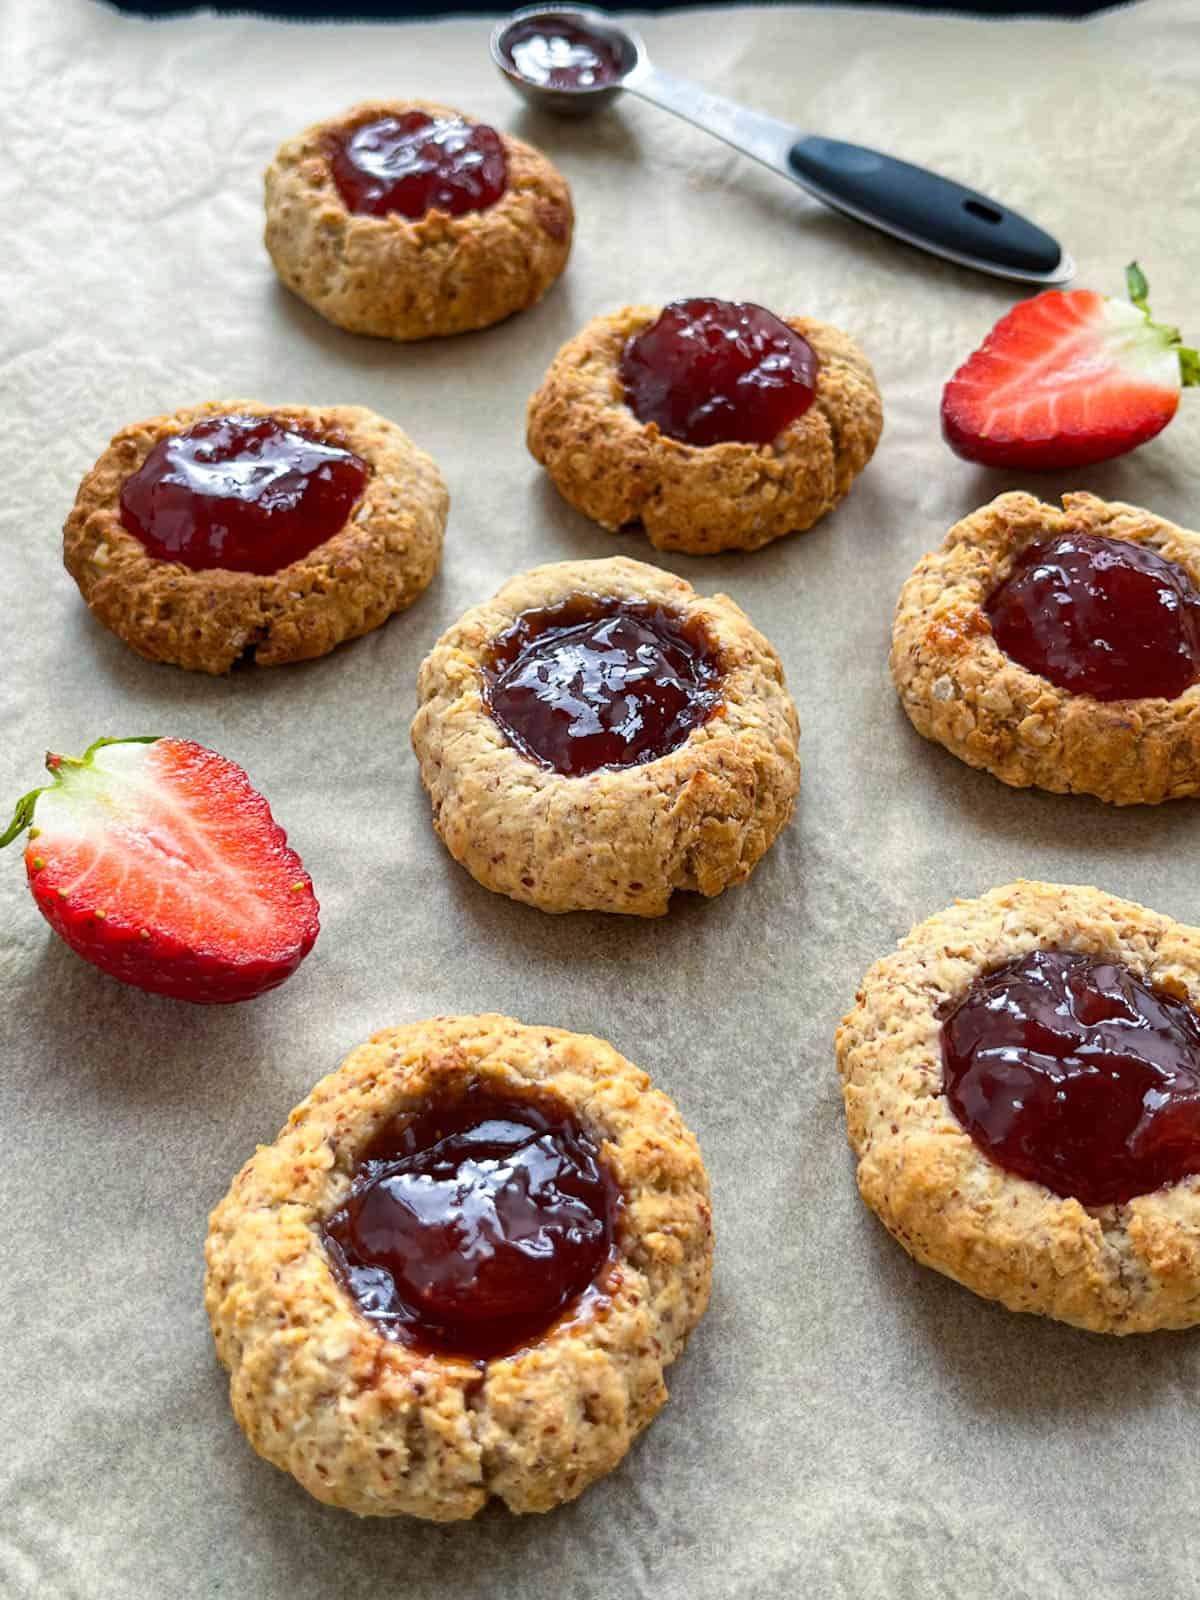
GLUTEN FREE JAM DROP COOKIES
Looking for a quick and healthy treat? These Gluten-Free Thumbprint Cookies are just what you need! With only 6 simple ingredients, you’ll have a delicious gluten-free snack ready in under 30 minutes. Like my gluten-free sugar cookies, these Thumbprint Cookies with jam are perfect for when you want something sweet but don’t want to spend all day in the kitchen.
SAVE THIS RECIPE 💌
Gluten-free cookies can be hard to find, often expensive, and sometimes they just don’t taste great. That’s why I love this gluten-free thumbprint cookie recipe so much. These easy gluten-free cookies are simple to make and absolutely delicious. Whether you’re sharing them with family members or friends, or just enjoying them as an afternoon snack, these little jam drops are sure to be a hit.
Why you should try this recipe:
- Easy to Make: These gluten-free thumbprint cookies are a breeze to prepare, making them a perfect choice for both novice and experienced bakers.
- Kid-Friendly: My kids adore these cookies, thanks to their delicious taste and the fun thumbprint filling.
- These thumbprint cookies are made with gluten-free all-purpose flour and almond flour and are free from gluten.
These gluten-free thumbprint cookies are fantastic! They were so easy to make, and they taste delicious. The jam center is the perfect touch. My family loved them, and I’ll definitely make them again!
Emily
📝 Recipe Ingredients

- Almond Meal or Almond Flour
- Oats: Regular rolled or quick-cooking oats work in this recipe. Make sure to choose certified gluten-free oats if following a gluten-free diet.
- Gluten-Free All-Purpose Flour: Just your favorite gluten-free mix.
- Coconut Oil
- Maple Syrup: Maple syrup is a great alternative to caster sugar because it adds natural sweetness and a rich, deep flavor. Just make sure to use pure maple syrup for the best taste and to avoid added sugars or artificial ingredients.
- Jam: Feel free to use any jam you like—raspberry, apricot, or strawberry jam are all great options.
Find the full list of ingredients in the recipe card below 👇
Substitutions And Variations
- Wheat or Spelt Flour: Can be used instead of the gluten-free flour blend if you’re not following a gluten-free diet.
- Butter: Substitute unsalted butter for coconut oil for a richer flavor.
- Filling: Try filling the thumbprint cookies with lemon curd, chocolate spread, or nut butter instead of jam.
👩🍳 How To Make Gluten-Free Thumbprint Cookies
This Gluten-Free Thumbprint Cookies recipe is incredibly simple. You don’t even need a food processor to make these tasty treats. With just a few basic ingredients and easy steps, you’ll have a batch of delicious jam-drop cookies ready in no time. Here’s how:
Step 1: Begin by preheating your oven to 180°C (350°F) and lining two baking trays with some parchment paper.

Step 2: In a large mixing bowl, combine the dry ingredients, such as the ground almonds (or almond flour), oats, and gluten-free flour mix (or spel flour if using).

Step 3: In a separate bowl mix the wet ingredients – melted coconut oil, milk, and maple syrup.

Step 4: Place the wet ingredients into a bowl with dry ingredients and stir until everything is well combined and soft dough forms.

Step 5: Form the cookie dough into 1-inch balls and place them on prepared baking sheets.

Step 6: Using your thumb or a small measurement spoon, gently create a small well in the center of each cookie.

Step 7: Carefully spoon a dollop of your favorite jam into each thumbprint.
Step 8: Bake the cookies in the preheated oven for about 20 minutes. Keep an eye on them as baking times may vary depending on your oven. The cookies are ready when they turn lightly golden.
Step 9: Cool and Enjoy: Allow the cookies to cool on a wire rack. Once they’ve cooled down, enjoy them with a well-deserved cup of tea!

❄️ How To Store
To keep your gluten-free thumbprint biscuits fresh and delicious, follow these storage guidelines:
- Allow them to cool completely on a wire rack before storing them.
- Store the cookies in an airtight container or cookie jar with a tight-sealing lid, in a cool dry place away from the sun.
- These cookies are typically best when stored at room temperature for 5 to 7 days.
❄️ Freeze them
- If you want to extend the shelf life of your gluten-free thumbprint cookies, you can also freeze them. Place them in an airtight container or a freezer-safe bag. Separating the cookies with parchment paper can help prevent them from sticking together. When you’re ready to enjoy a cookie with a cup of tea, simply let it thaw at room temperature and enjoy.

Recipe FAQs
No, this recipe does not require any xanthan gum.
– Ensure you follow the recipe and your dough is not too dry or too wet. If it feels too dry, you can add a teaspoon of milk or water to improve the consistency.
– If you chilled the dough and it is very cold, let it sit at room temperature for a few minutes before pressing the thumbprints.
– Instead of pressing your thumb directly down, try pressing gently and slightly rotating your thumb as you press to avoid too much pressure in one spot.
– If using your thumb still causes cracks, try using the back of a rounded teaspoon or a similar small tool to make the indentation.
If you tried this Gluten-Free Thumbprint Cookies Recipe or any other recipe on my website, please leave a 🌟 star rating and let me know how it went in the 📝 comments below. Thanks for visiting!

Gluten-Free Thumbprint Cookies
SAVE THIS RECIPE 💌
Ingredients
- 1 cup ground almonds
- 1 cup oats instant oats work the best
- 1 cup your favourite gluten-free flour mix or use spelt flour if gluten is not an issue
- 1/3 cup maple syrup
- 1/3 cup melted coconut oil you can also use avocado oil or melted butter if you prefer
- 1/3 cup of your favourite milk
- 1/2 jar of your favourite jam
Instructions
- Preheat oven to 180’C (350’F).
- Combine the ground almonds (or almond flour), oats, and gluten-free flour in a mixing bowl.
- Add the wet ingredients such as melted coconut oil, milk, and maple syrup and mix until everything is combined.
- Shape the dough into walnut-size balls and place them on the baking tray covered with baking paper. Flatten the balls a little using a bottom of a glass cup (or just use your hand).
- Using your thumb, make a small well in the middle of every cookie and place approximately 1/4 of a teaspoon in it.
- Bake for 20 minutes, your baking time might vary from mine depending on your oven. Once cookies are nice and golden, they are done.
Notes
- Storage: Store the cookies in an airtight container at room temperature for up to 5 days. For longer storage, you can freeze the cookies for up to 3 months.
- Flour Substitution: If you’re not following a gluten-free diet, you can substitute the gluten-free flour with wheat or spelt flour.
- Coconut Oil Substitute: Unsalted butter or avocado oil can be used in place of coconut oil.
- Jam Options: Feel free to use any jam you like. Raspberry, apricot, and strawberry are popular choices, but you can experiment with different flavors or even use a chocolate spread.
- Avoid Cracks: To avoid cracks when making the thumbprint, try pressing gently and slightly rotating your thumb, or use the back of a rounded teaspoon.