How to make sushi rice
This post contains affiliate links
Today I will show you how to make sushi rice at home, no rice cooker is needed. Perfect sushi rice, that is sticky and delicious every time.
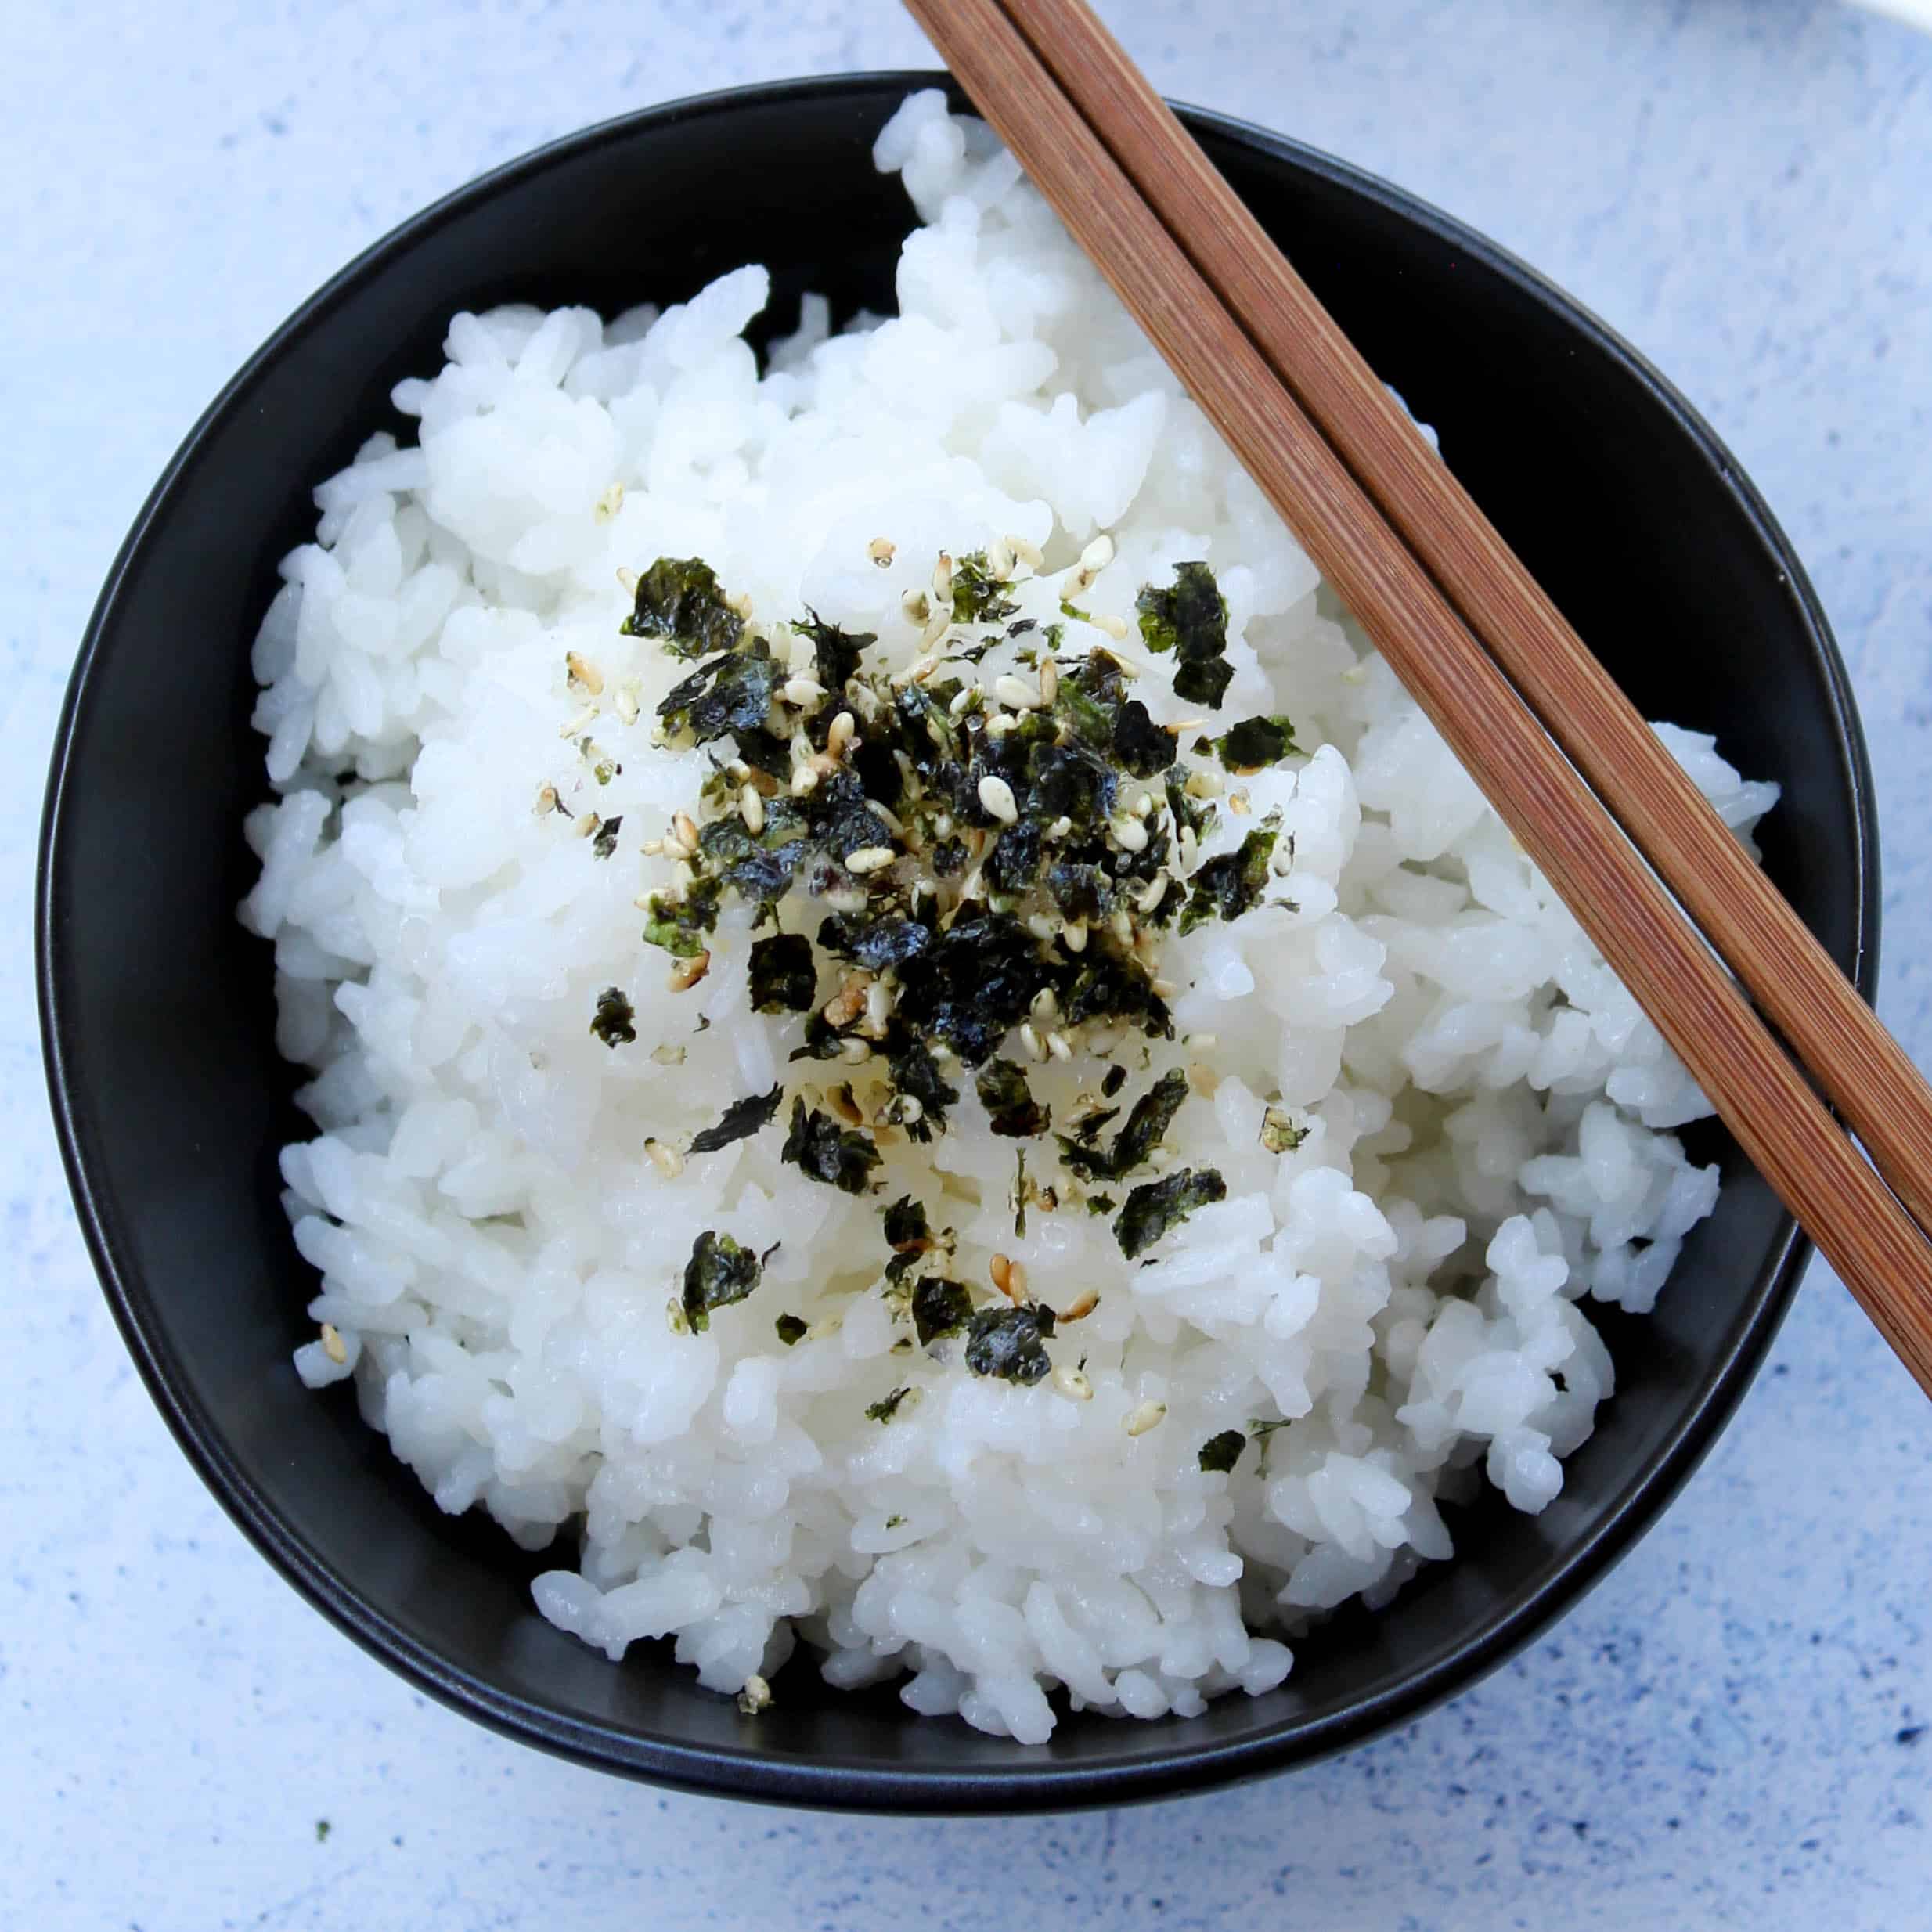
How to make sushi rice
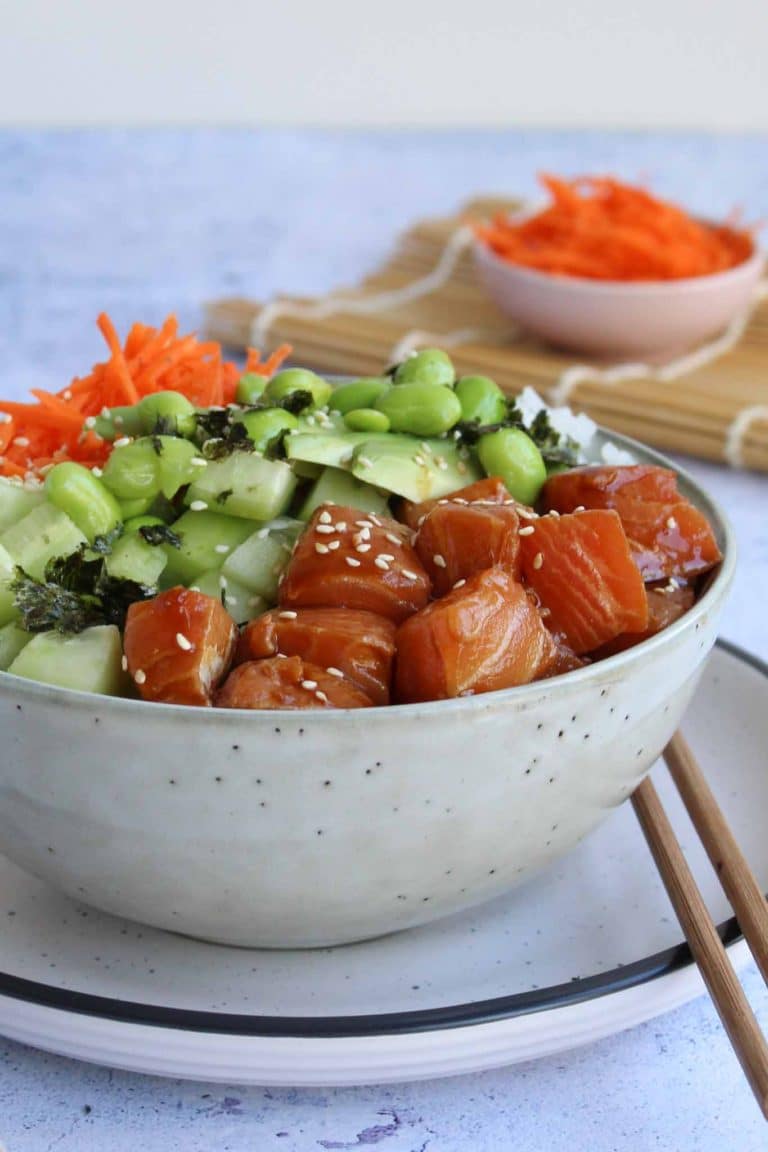
We love to make sushi rice at home. It is easy to make and can be used in so many different ways. Our favorite is to serve it with miso-glazed salmon to make a salmon bowl. My kids just can’t get enough of this delicious Japanese dish.
We also enjoy making sushi together with the kids, they love rolling their own sushi rolls. It is always a lot of fun.
Making sushi rice at home is much easier than you might think. With a couple of tips and tricks, you will have perfect sushi rice in under 30 minutes.
Is glutinous rice gluten-free?
Ok, before we go any further, let’s get one big misconception out of the way. People like me, who are following a gluten-free diet because of celiac disease or gluten intolerance, might be wondering if glutinous rice is safe for them. The good news is that the word glutinous means sticky. And glutinous rice just like any type of rice is absolutely gluten-free.
Ingredients to make sushi rice
All you will need to make sushi rice at home is rice and rice vinegar. Many recipes will call for some sugar or mirin to sweeten the rice but I found it is not necessary to add extra sugar to rice that is already naturally quite sweet.
What rice to choose to make sushi rice?
The right type of rice will make or break this recipe. You need to get Japanese Japonica short-grain sushi rice. It is glutinous and sticky and will make the perfect sushi bowl or sushi.
I usually use Obento sushi rice or Sunrice Koshihikari Sushi Rice, both are available from Woolworth or Coles here in Australia. If you have an Asian supermarket nearby you can ask for advice on what is the best Japanese rice to use.
Can you make sushi rice from jasmine rice or basmati rice?
The short answer is no. These kinds of rice are too dry to make sushi rice. While they might work for a sushi bowl, they will definitely not work to make sushi.
What vinegar to use?
As I mentioned above, I use plain rice vinegar to season my rice. However, you can buy sushi vinegar mixture from the shop. If you do, make sure to check the ingredients. More often than not, it will contain high fructose corn syrup, MSG and preservatives. All of which are better to be avoided.
If you can’t find rice vinegar, white wine vinegar, white vinegar, and apple cider vinegar might work too. It will of course depend on your taste preferences. If you don’t like apple cider vinegar, don’t use it 😉
How to make sushi rice on the stove
This is the traditional way of cooking rice, on the stove, absorption method.
1. Wash the rice
Always start by washing the rice. It will not only remove dirt but also extra starch. I wash my rice in a fine-mesh strainer. Some people might advise you not to use it because it will break the rice grains, but I found that if you wash the rice gently, a mesh colander works perfectly fine.
Simply put the dry rice into a mesh colander and gently wash it with your hand under running water for a couple of minutes, until the water runs clear.
Alternatively, you can wash the rice in a bowl. Put the dry rice in a bowl, add water, whisk it with your hand and drain. Repeat 4-5 times until the water isn’t cloudy anymore.
2. Cook the rice
Place the rinsed rice in a saucepan and add cold water. Bring the water to a boil and lower the heat to medium-low and cover it with a tight-fitting lid.
From now on DO NOT OPEN THE LID until the complete cooking process is over.
Cook the rice for 15 minutes. If it boils over, lower the heat. Again do not open the lid.
Take the rice off the heat and let it rest for another 10 minutes.
Only now you can open the rice to add the rice vinegar.
3. How to season the rice.
Using a wooden spoon gently scoop the rice into a large mixing bowl. Add the rice vinegar and mix a couple of times, again using a wooden spoon. Do not overmix it, you don’t want to break the rice grains too much.
Your perfect sushi rice is ready to eat.
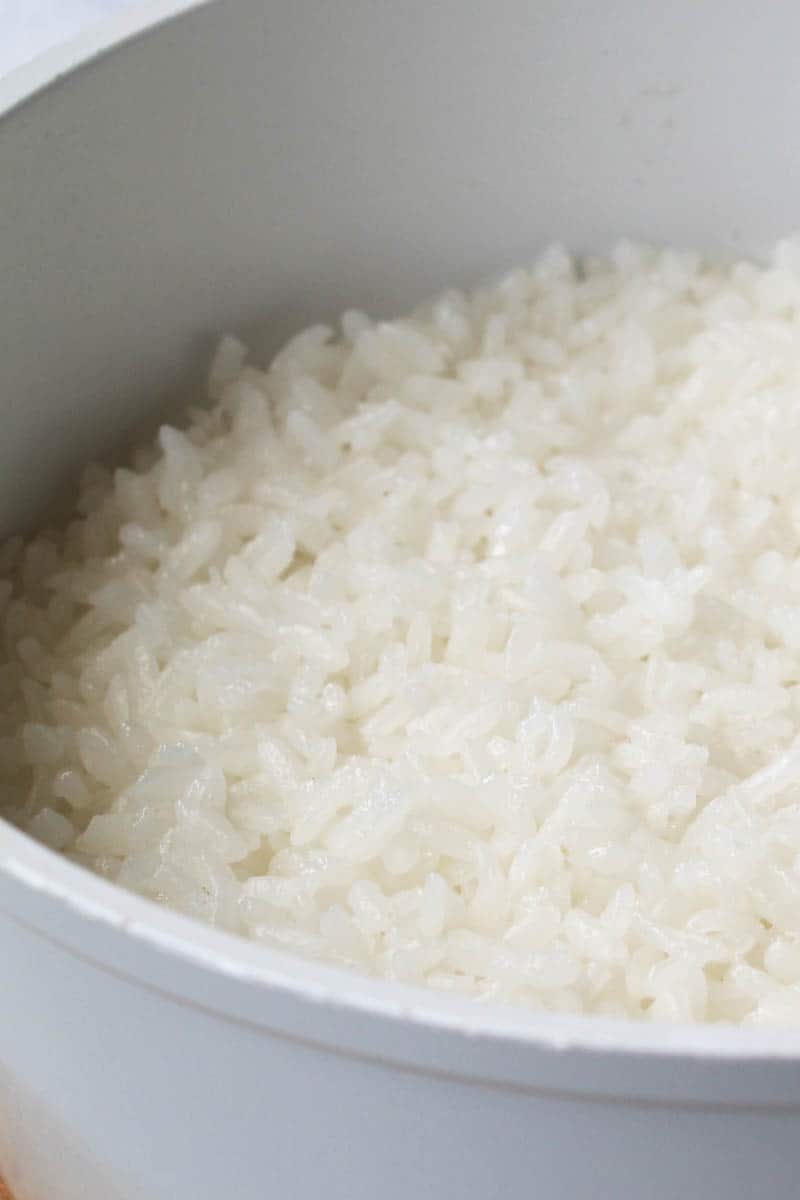
Water rice ratio
As a rule of thumb, you will need 1 cup of dry uncooked rice and 1 1/4 cups of water. However, all rice differs a little so please make sure to check the cooking instructions on the pack.
More easy rice recipes
How to use sushi rice
- You can use sushi rice to make homemade sushi rolls.
- Sushi bowls.
- Poke bowls.
- It makes a perfect side dish served with miso-glazed salmon.
- Or simply serve it with some furikake sprinkled on top.
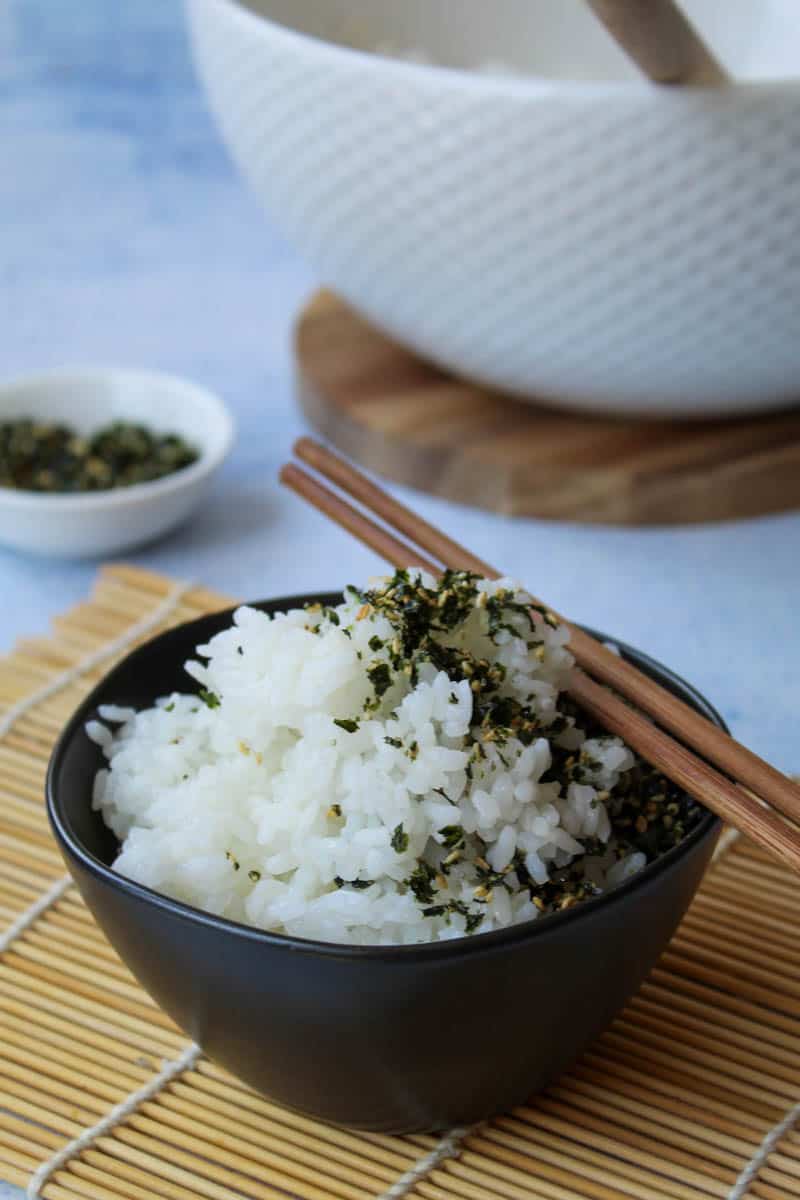
How to store leftover rice
Cooking sushi rice is not hard and I recommend cooking just the right amount you need on a day.
If you happen to have too much rice though, you can refrigerate it for a day or two in an airtight container and reheat it in a saucepan with a splash of water over low heat.
The tips that will make or break this recipe
- Use the right rice. Japonica short-grain rice is the best.
- Rinse the rice before cooking.
- Do not open the lid until the cooking cycle is finished.
- Do not over-whisk the rice when seasoning and use a wooden spoon.
I hope you find this recipe helpful and have perfect sticky rice ready to be enjoyed!
How to make sushi rice on the stove recipe
How to make sushi rice
Ingredients
- 1 cup Japanese sushi rice
- 1 1/4 cups cold water
- 2 tablespoons good quality rice vinegar
Instructions
- Wash the rice in a bowl or under running water in a mesh colender.
- Transfer the rice to a medium-size sauce pan.
- Add water and bring to a boil.
- Lower the heat to medium-low, cover the saucepan with a lid and let it simmer for 15 minutes. DO NOT OPEN THE LID. If the rice steams too much, lower the heat.
- Take the sushi rice from the heat and let it stand COVERED for 10 more minutes.
- Transfer the cooked rice into a large bowl and add rice vinegar. Using a wooden spoon, gently mix the rice without breaking it too much.
- Serve.
Notes
- Use the right rice. Japonica short-grain rice is the best.
- Rinse the rice before cooking.
- Do not open the lid until the cooking cycle is finished.
- Do not over-whisk the rice when seasoning and use a wooden spoon.



Ich mag auch Selbstgemachte Sushi ,ich habe auch immer Zucker in den Reis getan, aber ezt würde ich den nicht mehr benutzen. Ich habe gedacht das der Zucker den Reis klebrig macht .Danke für den Tipp !!!!