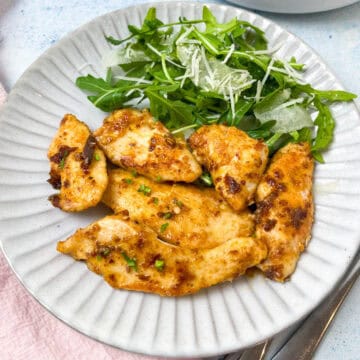
Gluten-Free Chicken Piccata
Ever since I first made this Gluten-Free Chicken Piccata, it’s become my go-to for a quick and delicious family dinner. Made with tender chicken breast, butter, lemon, and anchovies (a tasty twist on the classic capers), this chicken recipe bursts with flavor. Paired with creamy pesto pasta or mashed cauliflower, it’s the perfect meal for any busy night of the week. Ready in 20 miniutes.

I usually avoid cooking chicken breast because, more often than not, it turns out dry, unless you make poached chicken breast. However, this gluten-free lemon chicken is a game changer. Coated in a gluten-free flour mix and served with a finger-licking lemony sauce, this dish stays moist and tender. I love it, my kids love it, and I bet you will too. Let’s dive into what you’ll need to make it!
Excited to try this recipe? Step-by-step instructions with photos can be found below the recipe card 👇 to guide you through each step. Plus, keep scrolling for more tips and fun variations to make it your own!
Gluten-Free Chicken Piccata
SAVE THIS RECIPE 💌
Ingredients
- 600 grams chicken breast I used 3 chicken breasts to make dinner for 4
- 3 tablespoons gluten-free flour
- ½ teaspoon salt
- ½ teaspoon garlic powder
- ½ teaspoon sweet paprika
- 3 tablespoons extra virgin olive oil more if needed
- 3 thin lemon slices make sure to take all pips out
- 2 tablespoons butter
- 3-4 ancovies fillets
- parsley leaves to serve
Instructions
- In a bowl, mix the gluten-free flour mix with sweet paprika and garlic powder. Set aside.
- Cut the chicken breasts into thin steaks. Heat some extra virgin olive oil in a pan over medium heat.
- Coat each chicken steak in the flour mixture, ensuring an even coating.
- Fry the coated chicken in the hot oil, cooking each side for about 3 minutes or until fully cooked and golden. Remove the chicken from the pan and set it aside.
- Repeat the process with the remaining chicken, adding more olive oil as needed for frying.
- Once all the chicken is cooked, add the butter to the same frying pan (no need to wash it). Add the lemon slices and anchovies, and cook for 3-4 minutes, stirring frequently.
- Return the cooked chicken to the pan, toss gently to coat it in the lemon-anchovy sauce, and cook for another 2 minutes to reheat the chicken if necessary.
- Serve the chicken piccata garnished with fresh parsley leaves.
Notes
- Fry the chicken in batches if necessary, adding more olive oil as needed to prevent burning and ensure an even, crispy texture.
- Don’t wash the pan between frying the chicken and making the sauce. The browned bits in the pan will add depth to the lemon-butter sauce.
📝 Recipe Ingredients
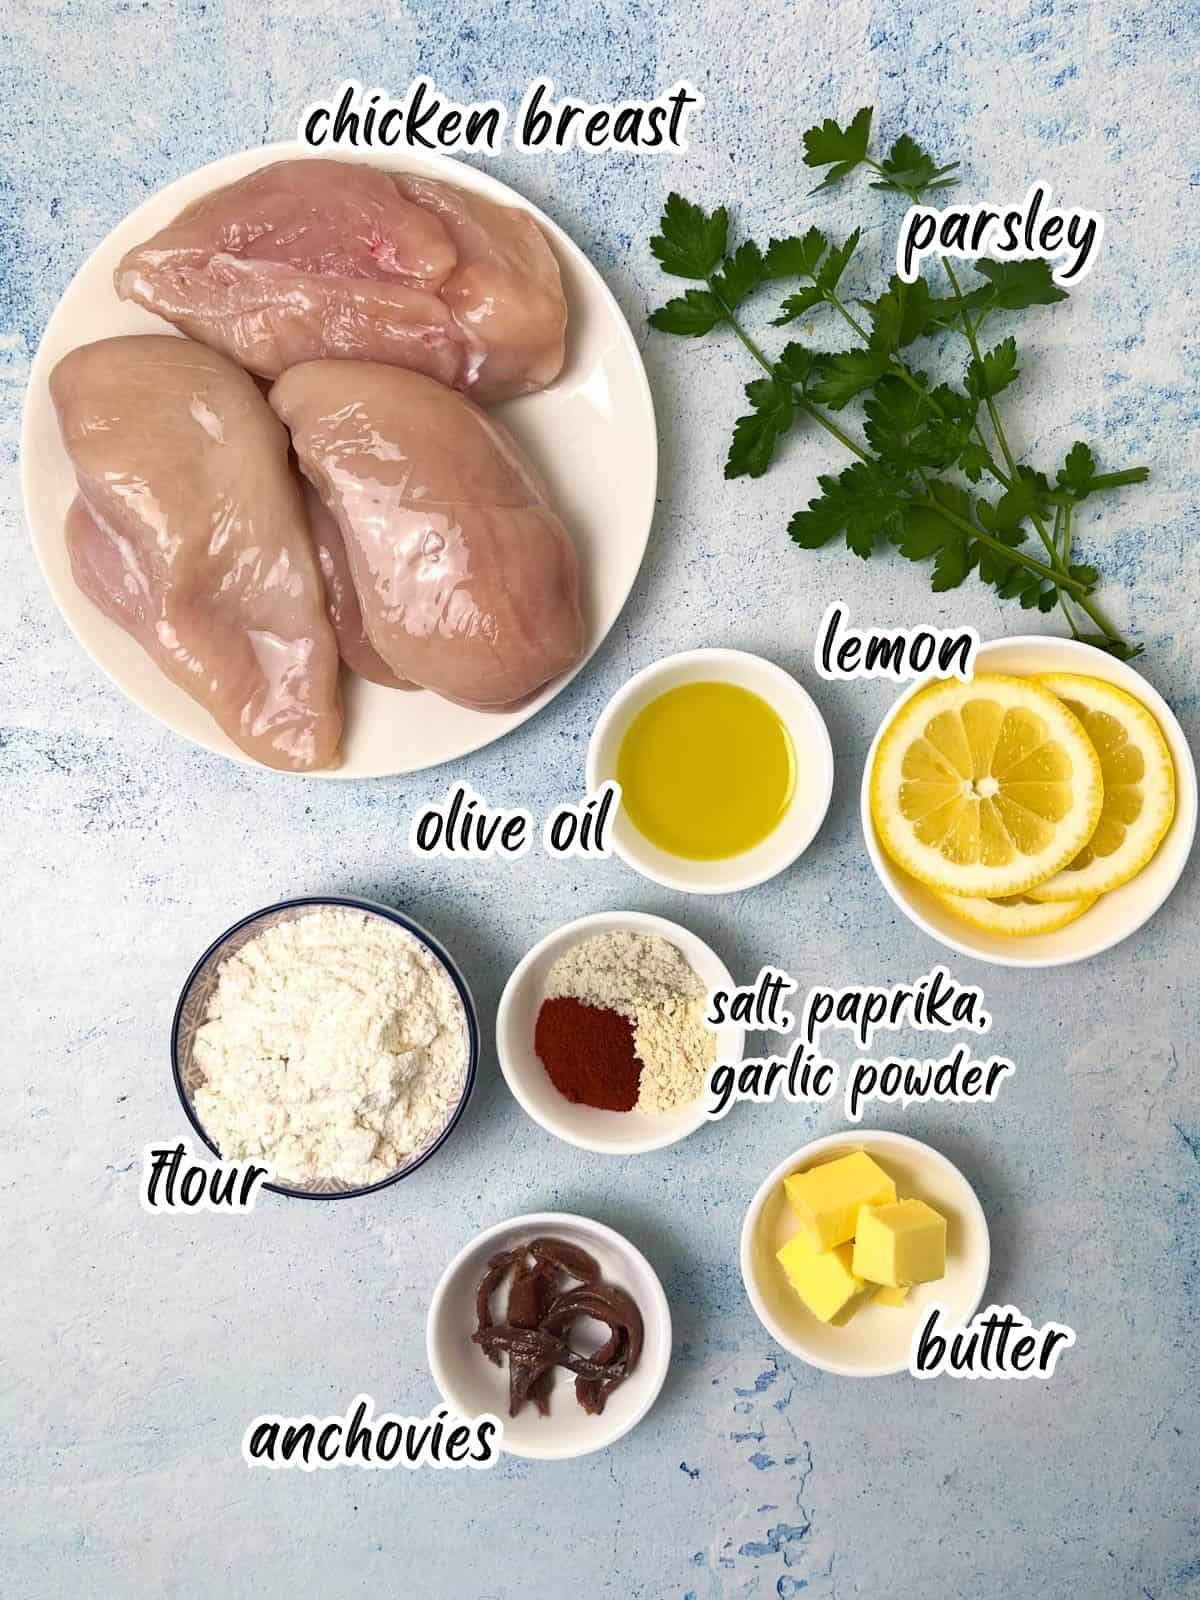
- Chicken breast: Cut into thin steaks for quick cooking and to ensure the chicken is juicy and tender.
- Butter: High-quality, grass-fed, organic butter is essential for this gluten-free chicken piccata. It is the base of the piccata lemon sauce.
- Lemon: Choose wax-free lemons if possible.
- Anchovies: I swapped the classic capers for anchovies, and I hope you’ll give them a try because lemon, butter, and anchovies are a match made in heaven.
- Gluten-free flour: Use your favorite gluten-free flour mix like Bob’s Red Mill to coat the chicken.
- Spices: I season my chicken with sweet paprika, garlic powder, and salt.
- Olive oil: To pan-fry the chicken steaks.
🧑🍳 How To Make Gluten-Free Chicken Piccata
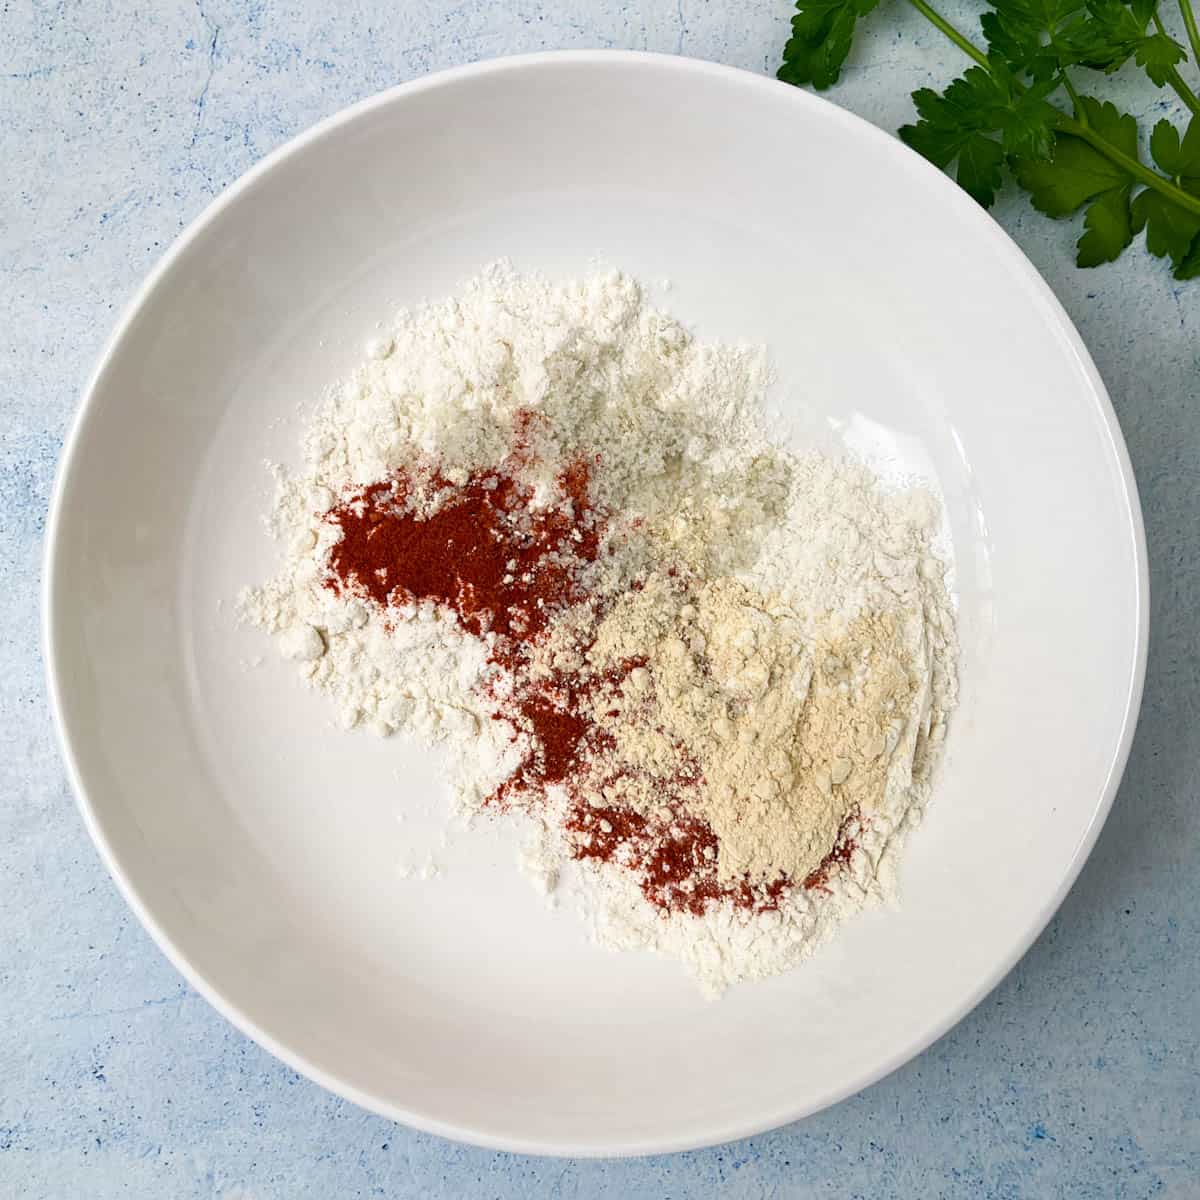
Step 1: Mix the gluten-free flour with sweet paprika and garlic powder in a deep bowl. Set aside.
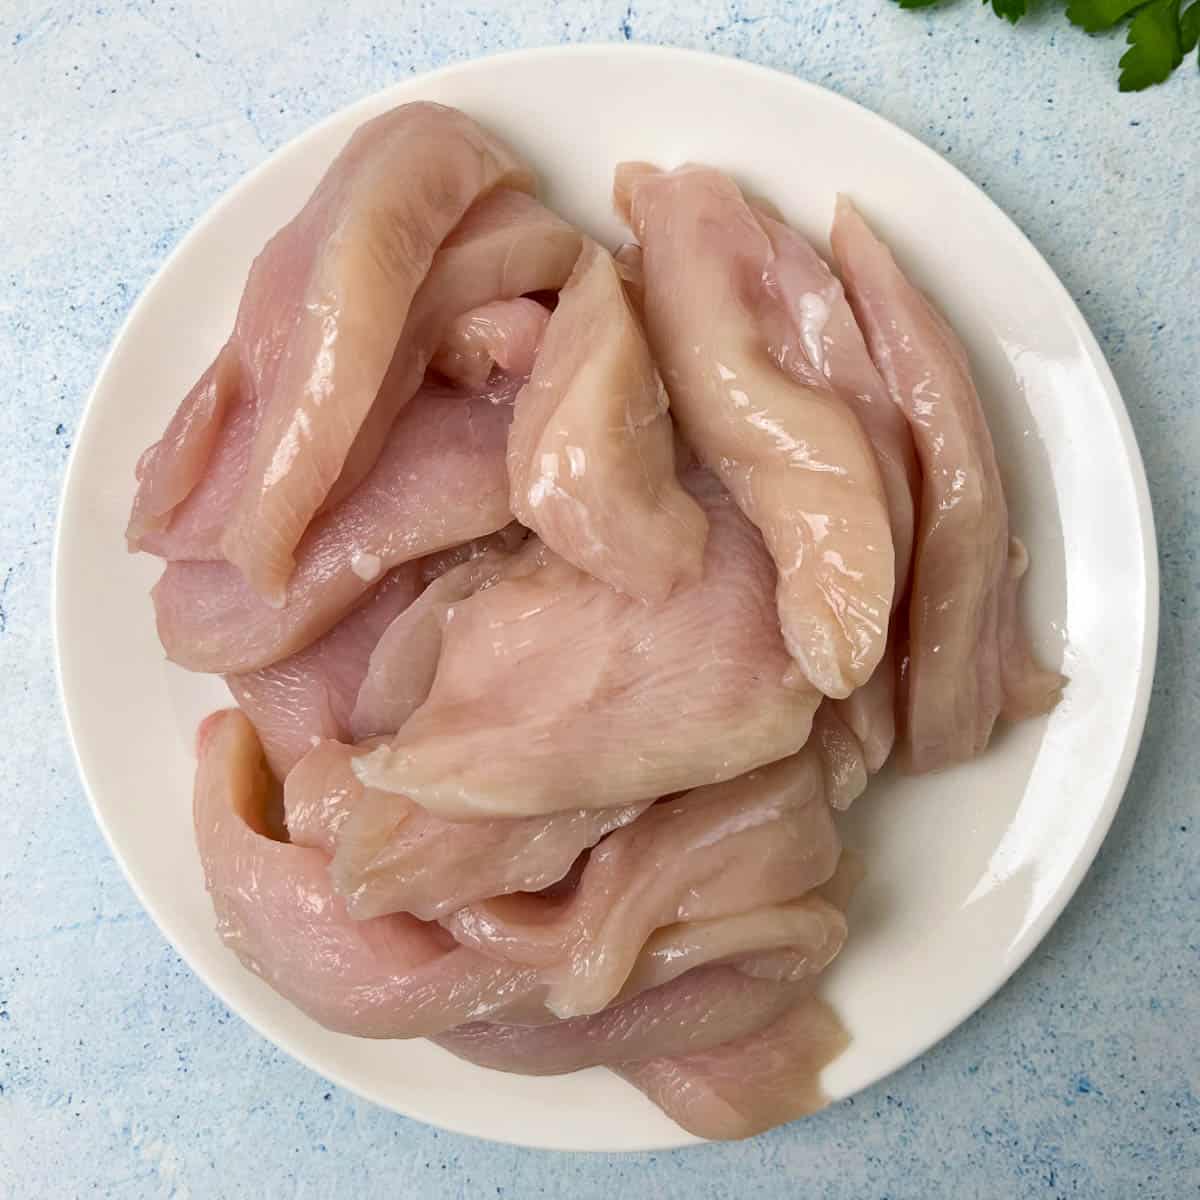
Step 2: Cut the chicken breasts into thin steaks. Heat some extra virgin olive oil in a pan over medium heat.

Step 3: Coat each chicken steak in the flour mixture, ensuring an even coating.
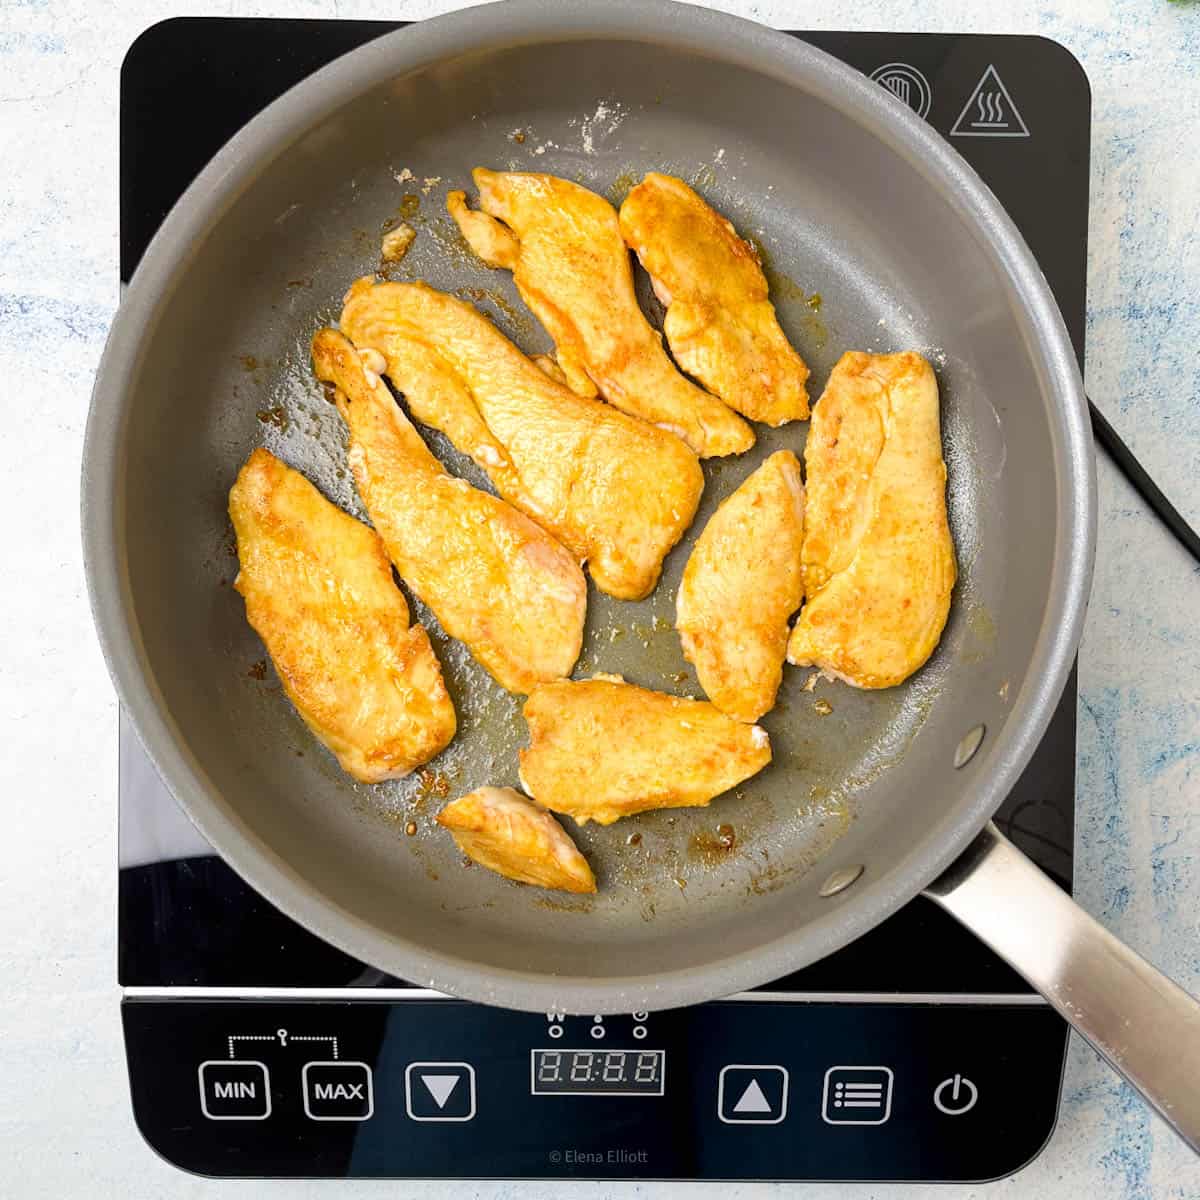
Step 4: Fry the coated chicken in the hot oil, cooking each side for about 3 minutes or until fully cooked and golden.
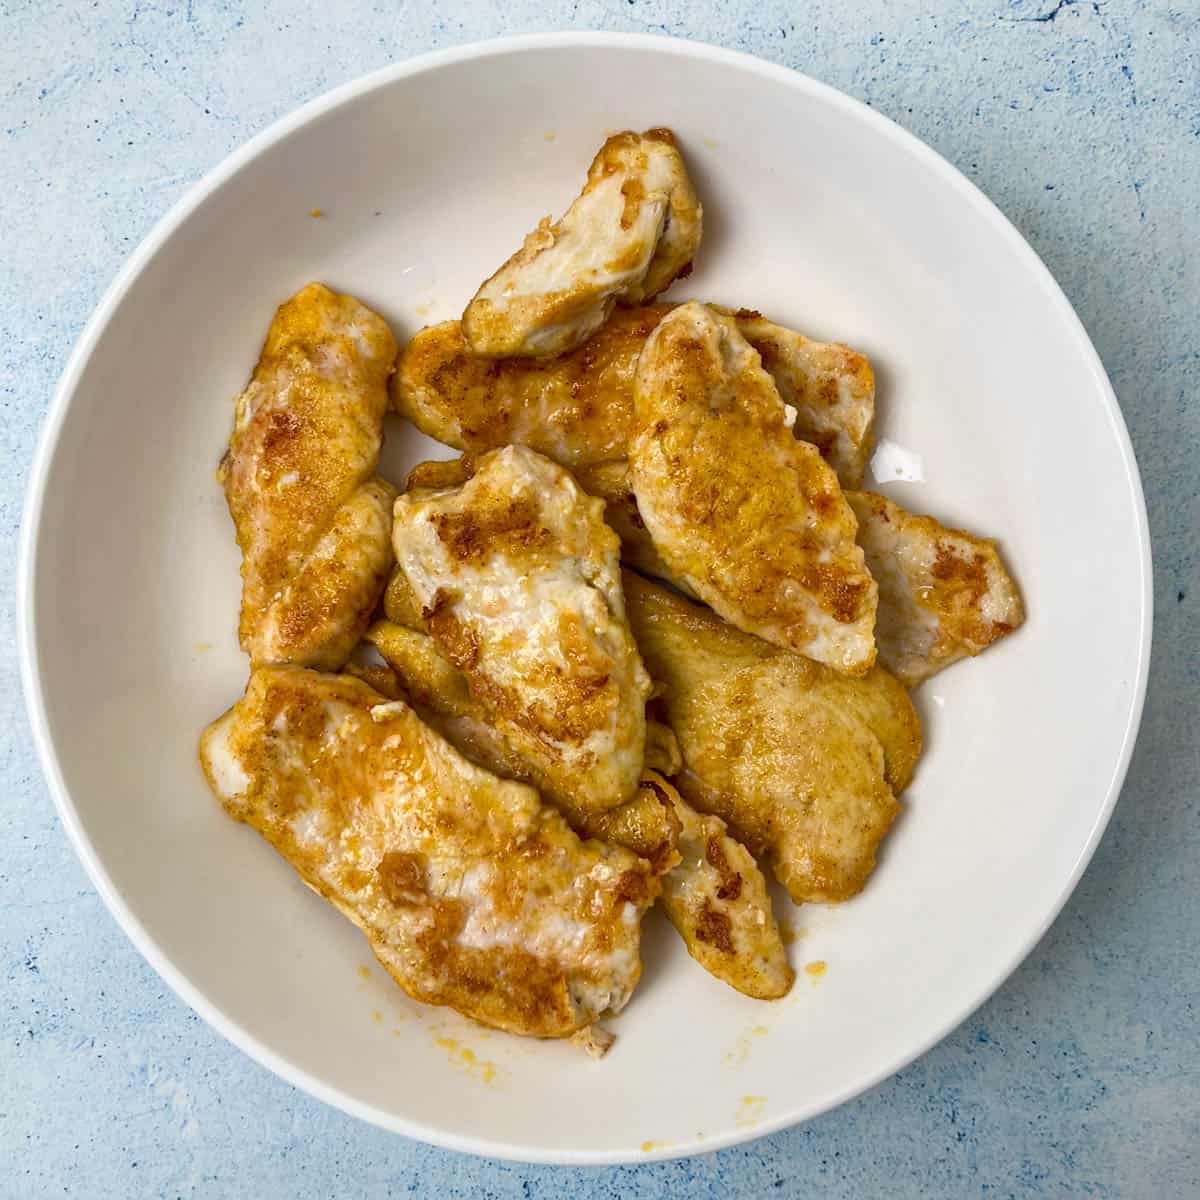
Step 5: Once fully cooked remove the chicken from the pan and set it aside. Repeat the process with the remaining chicken, adding more olive oil as needed for frying.
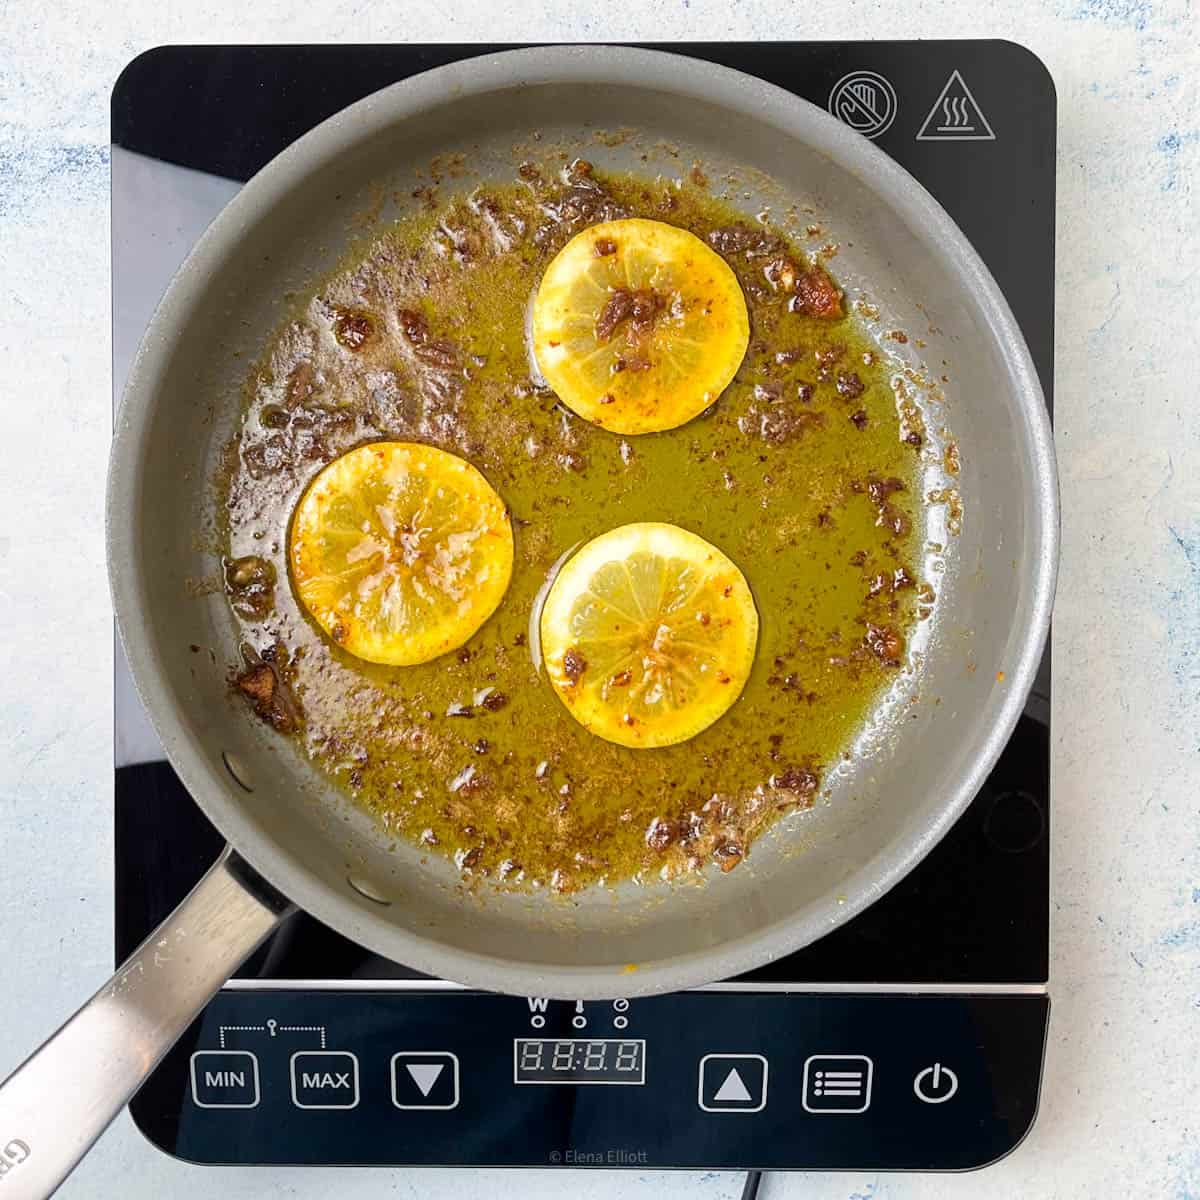
Step 6: Once all the chicken is cooked, add the butter to the same frying pan (no need to wash it). Add the lemon slices and anchovies, and cook for 3-4 minutes, stirring frequently.
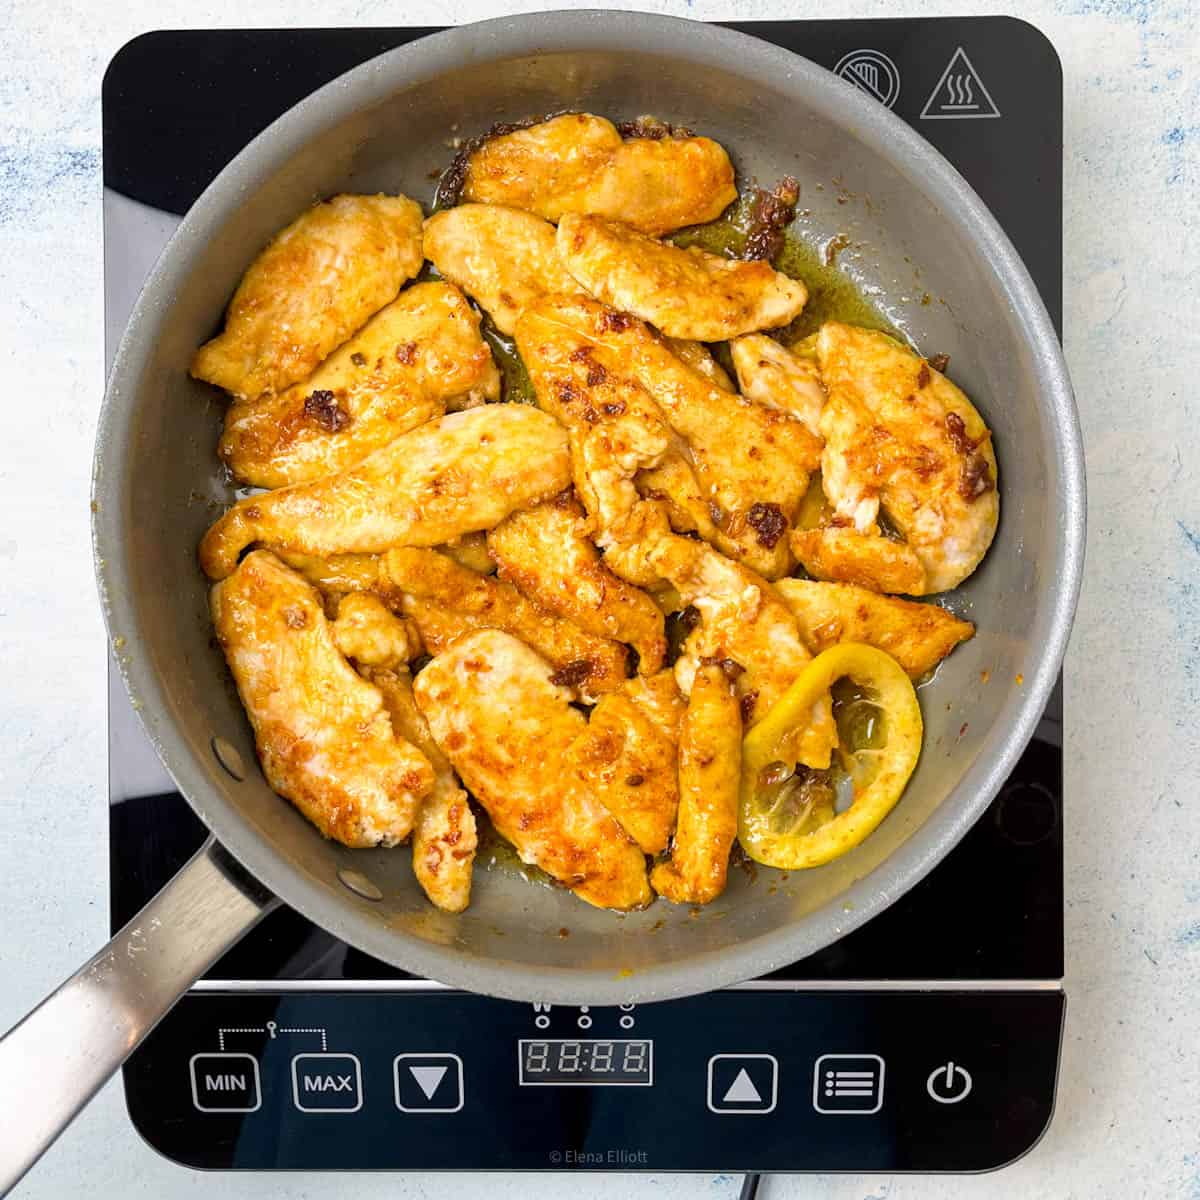
Step 7: Return the cooked chicken to the pan, toss gently to coat it in the lemon-anchovy sauce, and cook for another 2 minutes to reheat the chicken if necessary.

Step 8: Serve the chicken piccata garnished with fresh parsley leaves.
☀️ Top Tips
- Brown the chicken: Make sure the chicken steaks are cooked through before taking them out. Avoid burning the chicken, as we will need the same pan for the butter lemon sauce.
- Deglaze: I found that butter and lemon juice are enough to deglaze the pan, but if you feel more is needed, you can add a splash of wine or chicken stock.

If you tried this Gluten-Free Chicken Piccata Recipe or any other recipe on my website, please leave a 🌟 star rating and let me know how it went in the 📝 comments below. Thanks for visiting!


So easy and so good! Perfect for a lazy cooking day.
I and my family absolutely love this recipe. It is done in 20 minutes and tastes delicious. The chicken is juicy and tender. Perfect for a quick dinner on a busy weeknight.