Homemade Nutella recipe (dairy- & gluten-free)
This post contains affiliate links
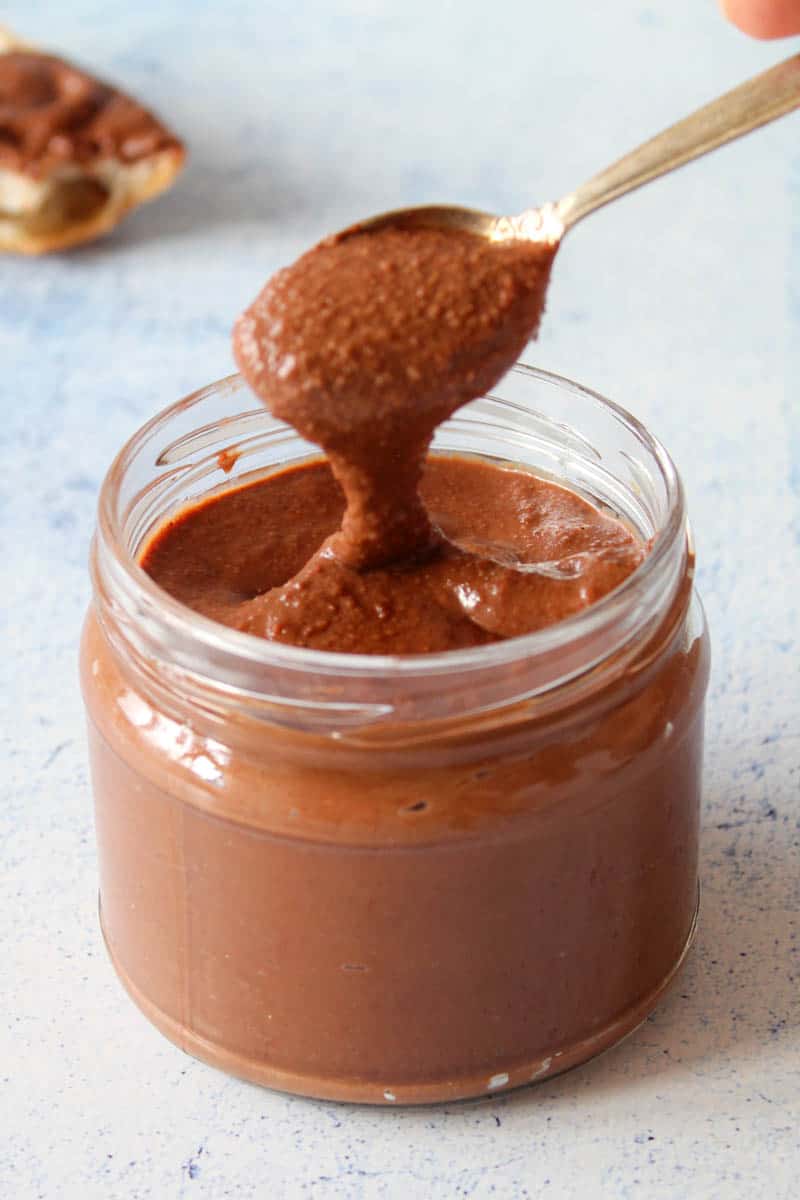
Homemade Nutella is made with roasted hazelnuts, cacao powder, maple syrup, and nothing else. Super easy to make, delicious, and really good for you! Let’s make it!

I am so excited to share this homemade Nutella recipe with you today.
Why make Nutella at home?
It is hard to find someone who doesn’t like Nutella. However, despite the common belief that Nutella makes a good breakfast choice, it’s essential to reconsider. Store-bought Nutella contains significant amounts of sugar and palm oil, which are not ideal ingredients for daily consumption and certainly not the best way to begin your day.
This vegan chocolate hazelnut spread, on the other hand, has only very few ingredients.
- This homemade version is a much better option than regular Nutella. You are in control of the quality and type of ingredients you use. It is free from refined sugars and unhealthy fats present in commercial versions.
- Allergen-Friendly: Store-bought Nutella may contain common allergens like dairy or soy, which can pose challenges for individuals with allergies or dietary restrictions. However, making vegan hazelnut spread at home allows you to avoid these allergens altogether.
- Less sugar. This recipe uses pure maple syrup which makes it refined sugar-free.
- Vegan. Because we don’t use any milk in this recipe, it makes this homemade Nutella vegan and dairy-free.
- No Palm Oil: Original Nutella is made with palm oil, which raises concerns about deforestation and environmental impact. This homemade version is palm oil-free.
- Delicious. And with all the above, this chocolate spread tastes just as good as the real thing.
Ingredients for chocolate hazelnut
- Raw hazelnuts
- Pure maple syrup or any other liquid sweetener of your choice
- Raw cacao powder, I used organic cocoa powder.
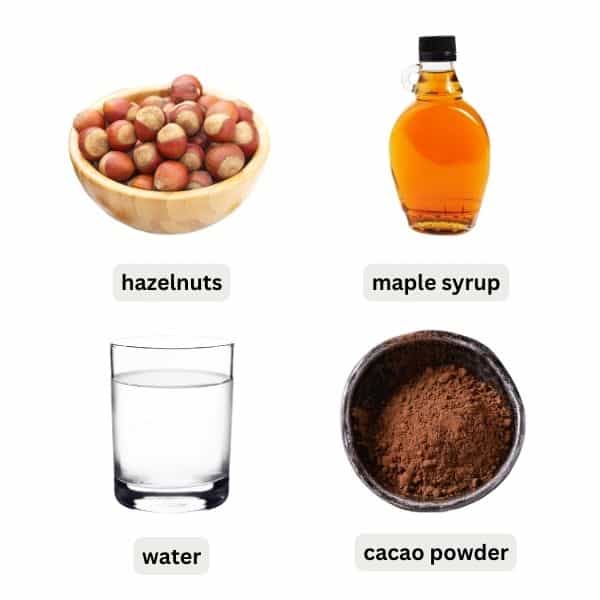
See the full list of ingredients and nutritional information in the recipe card below.
How to make hazelnut chocolate spread
- Preheat the oven to 200°C (400°F).
- Place the hazelnuts on a baking sheet and bake them for 10 minutes. Once roasted, remove them from the oven and let them cool.
- Remove the hazelnut skins by rubbing the nuts between your hands. You don’t have to remove all the skins, just as much as comes off easily.
- Transfer the roasted hazelnuts to a food processor and blend them until you have creamy hazelnut butter.
- Add the desired amount of pure maple syrup (or other liquid sweeteners) and raw cacao powder to the hazelnut butter in the food processor. Blend the mixture briefly to incorporate the sweetener and cacao powder.
- With the food processor running, gradually add 1/2 cup of water to the mixture. The water will help achieve the desired spreadable consistency.
Tips for making creamy nut spread
Making a creamy nut spread requires some patience. Here are some tips to help you achieve the best results:
High Speed Blender: A high-speed blender, like a Vitamix or Thermomix, can make a significant difference in achieving a smooth and creamy texture. The powerful motor and sharp blades help break down the nuts effectively.
Nuts first: Start by blending the nuts alone to form a smooth nut butter before adding other ingredients like maple syrup, cacao, or water.
Thickness: If the spread is too thick, you can add a little more liquid to reach the desired consistency.
Patience: Like with any homemade nut butters, achieving a creamy nut spread may take some time, especially if you’re using a regular blender or food processor. Be patient and blend in intervals, scraping down the sides of the blender bowl to ensure even blending.
Variations
Coconut oil. Adding a little coconut oil to your homemade nutty spread can enhance the creaminess and flavor.
Coconut milk. Substitute water with coconut milk. Coconut milk pairs with hazelnut beautifully and adds a tropical twist to the recipe.
Espresso. Add a teaspoon or two of instant espresso powder or strong-brewed coffee to the base recipe for a delicious coffee-flavored twist. It’s perfect for coffee lovers!
Sea Salt. Sprinkle a pinch of flaky sea salt on top of the spread before serving to create a perfect balance of sweet and salty flavors.
How to store homemade chocolate spread
Once you’ve made the hazelnut spread, transfer it to a clean and dry airtight container. A glass or mason jar with a secure lid works well for this purpose.
Store the container with the hazelnut spread in the refrigerator. The chocolate spread should last for about 1 to 2 weeks.
How to use it?
This dairy-free hazelnut spread can be used in the same ways you would use traditional Nutella. Here are a couple of ideas:
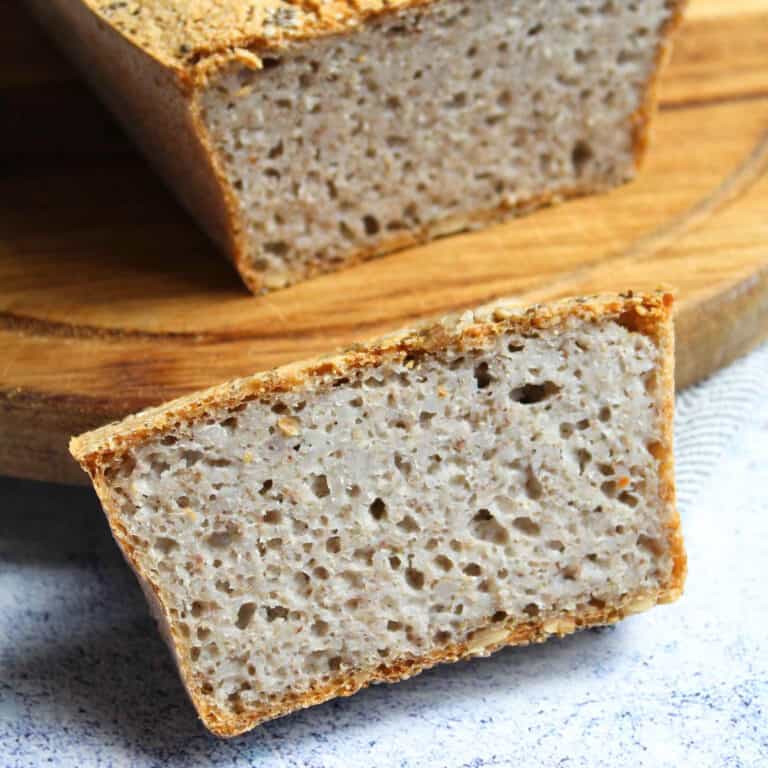
Spread on Toast: The best way to use nut spreads is of course to spread it on toast. Try it with my gluten-free bread for a delicious breakfast or snack.
Smoothies: Add a dollop of the nut spread to your smoothies to enhance their creaminess and add a nutty flavor. It’s a great way to sneak in some extra protein and god fats into your smoothie.
Oatmeal or Porridge: Swirl the nut spread into your warm oatmeal or porridge for a delightful and comforting breakfast.
Crepes and Pancakes: Use the nut spread as a filling for crepes or spread it on pancakes for a delicious breakfast or snack.

Vegan Homemade Nutella
Ingredients
- 2 cups raw hazelnuts
- 1/2 cup pure maple syrup
- 2-3 tablsespoons organic raw cacao powder
- 1/2 cup water
Instructions
- Preheat the oven to 200°C (400°F).
- Place the hazelnuts on a baking sheet in a single layer and bake them in the preheated oven for about 10 minutes. Roast the hazelnuts until their skins start to crack, and they become fragrant. Be careful not to over-roast them, as this can result in a bitter taste.
- Once roasted, remove the hazelnuts from the oven and let them cool slightly.
- Remove the hazelnut skins by rubbing the nuts between your hands. The skins should come off easily. Don't worry about removing all the skins; just get off as much as possible.
- Transfer the peeled hazelnuts to a food processor or a high-speed blender.Blend the hazelnuts until they turn into a smooth and creamy hazelnut butter. This process may take a few minutes, and you might need to scrape down the sides of the bowl occasionally.
- Add the pure maple syrup (or your preferred liquid sweetener) and raw cacao powder to the hazelnut butter in the food processor. Blend the mixture briefly to incorporate the maple syrup and cacao powder.
- While the food processor is running, gradually add 1/2 cup of water to the mixture. The water will help achieve the desired spreadable consistency. Adjust the amount of water as needed to reach your preferred thickness.
- Taste the homemade vegan hazelnut spread and adjust the sweetness or cocoa flavor to your liking by adding more sweetener or cacao powder if desired.
- Transfer the spread to a clean, airtight container, and store it in the refrigerator for up to 2 weeks.
- Enjoy!


Danke für das neue Rezept.