Best gluten-free crepes recipe – fast and easy
This post contains affiliate links
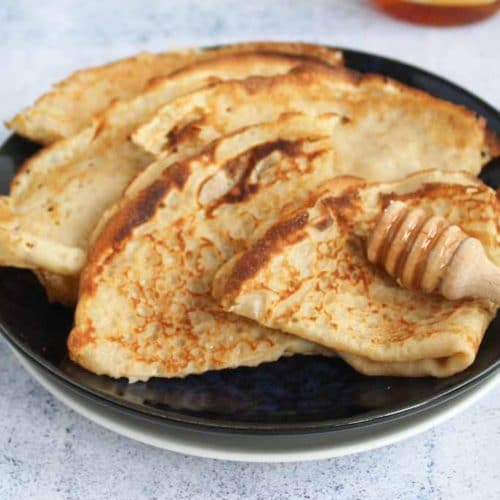
Sweet or savoury these delicious gluten-free crepes are your new best friends! They taste so good no one ever would tell they are gluten-free! Made with buckwheat flour, eggs, and milk, these are the best gluten-free crepe recipe ever!
The post has extra tips to make sure the recipe comes out amazing on your first try. If you're in a rush, use the link above to jump to the recipe card at the end! 👩🍳🔝
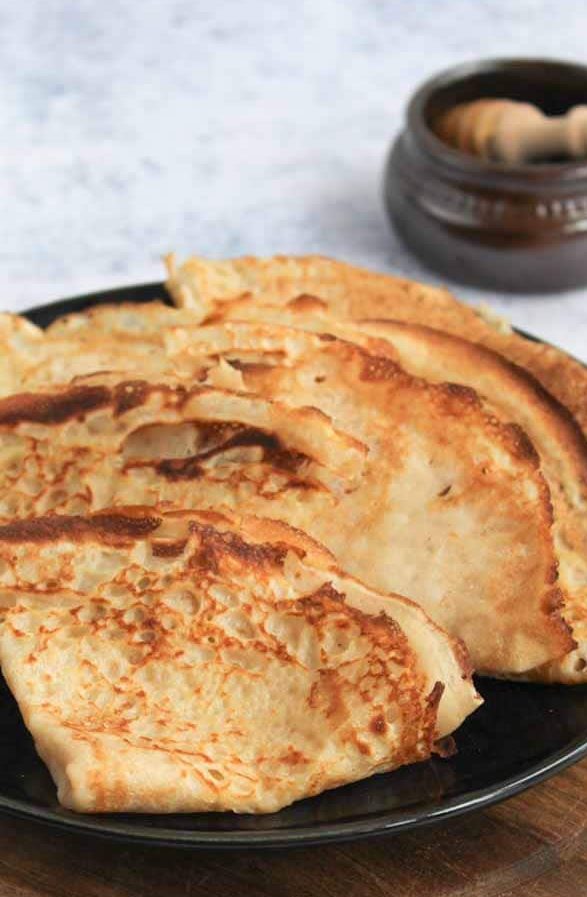
Let’s be honest, living without gluten is not always fun. There are certain things that are just very hard to replicate and until now crepes were one of those things for me.
Growing up I had crepes (or blinchiki) pretty much every week and it is something I missed a lot since I went gluten-free. But from today on, thanks to this easy recipe, crepes are no longer on my DON’T list. And they will not be on yours either 😉
Ingredients
This delicious recipe requires only a few simple ingredients. Here is what you will need:
- Buckwheat flour. My favorite gluten-free flour to use. It is packed with nutrients, is easy to use, and is simply delicious.
- Eggs, free-range or organic if possible.
- Milk of your choice. You can use dairy or almond milk. I do not recommend using soy milk as it can be inflammatory for some people.
- Melted butter, grass-fed or organic is the best choice.
- Extra virgin olive oil. Please don’t use any vegetable oil to cook the crepes. Vegetable oils are known to be inflammatory and should not be a part of your daily diet.
- Salt and sugar to taste. I use organic raw sugar but feel free to use coconut sugar if you prefer.
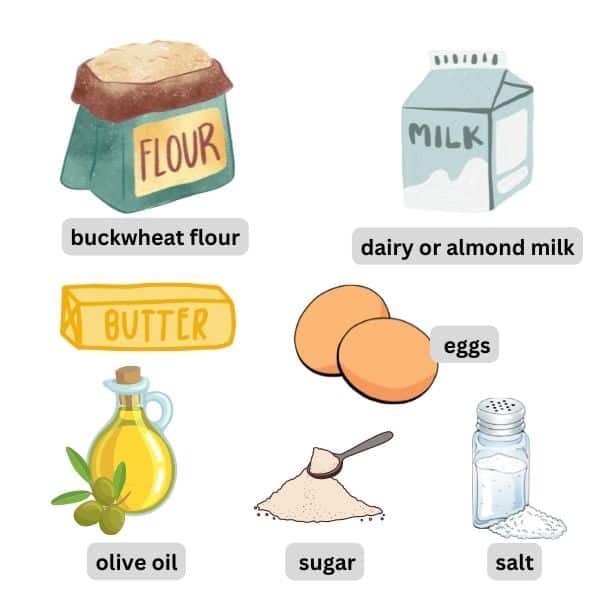
See the full ingredients list with measurements in the recipe card below.
How to make
I know many people might be a bit scared to make crepes on their own because of the cooking process, but with a little practice, you will master them in no time. You really should give it a go. This crepe batter is very easy to handle, it does not stick and also doesn’t rip when you flip the crepe.
The only thing I am asking you to do is to be patient and let the batter rest and cool as required in the recipe.
- Start by mixing the eggs, salt, sugar and milk in a large mixing bowl. Use a whisk to combine.
- Add the buckwheat flour to the mix and whisk again until everything is incorporated.
IMPORTANT!
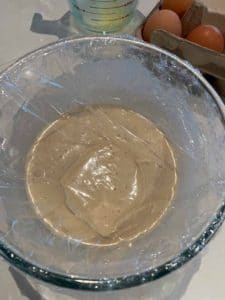
- Cover the bowl with plastic wrap or an airtight lid and refrigerate for at least an hour. You can refrigerate it overnight for even better results, but it will work just fine after an hour or two.
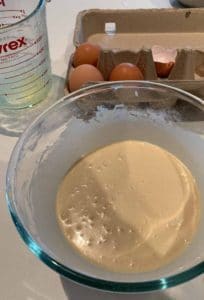
- Add cold water to the dough and whisk well to combine.
- Heat a non-stick frying pan over medium-high heat. Brush the pan with some olive oil, using a pastry brush.
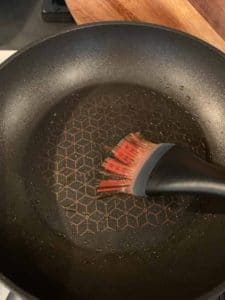
- Using a soup ladle, add 1/2 ladle (approximately half a cup) of the batter mixture to the middle of the pan and move it in a circular motion so that batter is evenly distributed across the pan.
- Cook it for a minute or two until the crepe is golden brown, flip it using a spatula onto the other side, and cook it for half a minute on the other side. Take the crepe out and put it on a large plate. You can keep cooked crepes warm in the oven heated to 50’C (120’F)
- Brush the pan again and repeat with the next one until you have used all the remaining batter.
This recipe is easy to make but requires a little bit of patience. Don’t get discouraged if your crepe didn’t work out the first time.
Watch the video at the end of this post to see how I make gluten-free crepes.
Tips for making the crepes
- Buckwheat crepes require slightly longer cooking time than regular wheat crepes.
- The second side will cook faster than the first side. If you leave the crepe in a pan for too long after you flipped it, it will become too crispy.
- For best results, you have to brush the pan with just a little olive oil every time before you start making a new crepe. Use a pastry brush like this one.
- To make thin crepes use less batter and a little bit more for the thicker ones.
Make it dairy-free
Use almond milk and coconut oil instead of butter to make dairy-free crepes.
Equipment you might find helpful
How to serve
Like any regular crepes, these gluten-free crepes can be enjoyed sweet or savory.
Savory filling options
The options for what to serve with the crepes, gluten-free or not, are endless. Here are only a couple of ideas that you could try:
- Sour cream and smoked salmon is my all-time favorite.
- Sautéed mushrooms.
- Ham and cheese.
- Hummus and avocado
Sweet fillings for crepes
- Chocolate spread.
- Cream cheese and fresh strawberries.
- Banana and peanut butter.
- Or just enjoy them with pure maple syrup and some fresh fruit.
What are your favorite toppings for crepes? Let me know in the comments below.
How to store
These crepes will stay fresh if refrigerated in an airtight container for up to 3 days. You can enjoy them cold or warm. Just warm them up in a frying pan with a splash of olive oil for a couple of minutes.
You can also leave them in a pan for a little longer and let them crispen up. They taste delicious!
More delicious gluten-free recipes to try
Best gluten-free crepe recipe – fast and easy
Ingredients
- 150 g buckwheat flour
- 2 free-range eggs
- 1/2 teaspoon of sea salt
- 1/2 teaspoon of raw sugar
- 250 ml milk of your choice. Dairy or almond milk are great choices.
- 20 g melted butter organic or grass-fed if possible.
- 125 ml of cold water
- Extra virgin olive oil for frying
Instructions
- In a large mixing bowl mix the eggs, salt and sugar, add milk and whisk well until everything is combined.
- Add flour to the mix and whisk again until everything is incorporated.
- Cover the bowl with glad wrap or an airtight lid and refrigerate for at least an hour. You can refrigerate overnight for even better results, but it will work just fine after an hour or two.
- Add cold water to the crepes batter and whisk well to combine.
- Heat a small frying pan on medium-high heat. Brush the pan with some olive oil.
- Using a soup ladle, add 1/2 ladle of the mixture to the middle of the hot pan and circle the pan so that dough is evenly distributed across the frying pan.
- Cook it for a minute or two until the crepe is nice and golden, flip it using the spatula, and cook it for 1/2 minute on the other side. Take the crepe out and put it on a large plate.
- Brush the pan again and repeat with the next one until you have used all the batter.
Notes
- Buckwheat crepes require a slightly longer cooking time than regular wheat crepes.
- The second side will cook faster than the first side. If you leave the crepe in a pan for too long after you flipped it, it will become too crispy.
- For best results, you have to brush the pan with just a little olive oil every time before you start making a new crepe. Use a pastry brush like this one.
- To make thin crepes use less batter and a little bit more for the thicker ones.
Watch how to make them
Video is coming soon

Best gluten-free crepe recipe - fast and easy
Ingredients
- 150 g buckwheat flour
- 2 free-range eggs
- 1/2 teaspoon of sea salt
- 1/2 teaspoon of raw sugar
- 250 ml milk of your choice. Dairy or almond milk are great choices.
- 20 g melted butter organic or grass-fed if possible.
- 125 ml of cold water
- Extra virgin olive oil for frying
Instructions
- In a large mixing bowl mix the eggs, salt and sugar, add milk and whisk well until everything is combined.
- Add flour to the mix and whisk again until everything is incorporated.
- Cover the bowl with glad wrap or an airtight lid and refrigerate for at least an hour. You can refrigerate overnight for even better results, but it will work just fine after an hour or two.
- Add cold water to the crepes batter and whisk well to combine.
- Heat a small frying pan on medium-high heat. Brush the pan with some olive oil.
- Using a soup ladle, add 1/2 ladle of the mixture to the middle of the hot pan and circle the pan so that dough is evenly distributed across the frying pan.
- Cook it for a minute or two until the crepe is nice and golden, flip it using the spatula, and cook it for 1/2 minute on the other side. Take the crepe out and put it on a large plate.
- Brush the pan again and repeat with the next one until you have used all the batter.
Notes
- Buckwheat crepes require a slightly longer cooking time than regular wheat crepes.
- The second side will cook faster than the first side. If you leave the crepe in a pan for too long after you flipped it, it will become too crispy.
- For best results, you have to brush the pan with just a little olive oil every time before you start making a new crepe. Use a pastry brush like this one.
- To make thin crepes use less batter and a little bit more for the thicker ones.




Looks delicious, thanks!
★★★★★
Thanks, Kelly 🙂
Ich mag Blinchiki !!!!!!
★★★★★